Getting Started
Welcome to BibleMarker. If you’ve ever studied the Bible with colored pencils and a highlighter, this will feel familiar — it does the same thing, right here on your screen. You mark the words you notice — the ones that repeat, the people, the places — and BibleMarker keeps track of it all for you.
Don’t worry: Nothing you do here is permanent, and you can’t break anything. Every mark can be changed or removed later, and if you ever tap the wrong thing, just tap Cancel.
The reading view
When you open BibleMarker, you’ll see a chapter of scripture. This is the reading view — think of it as the open page of your Bible. It’s where you’ll spend most of your time.
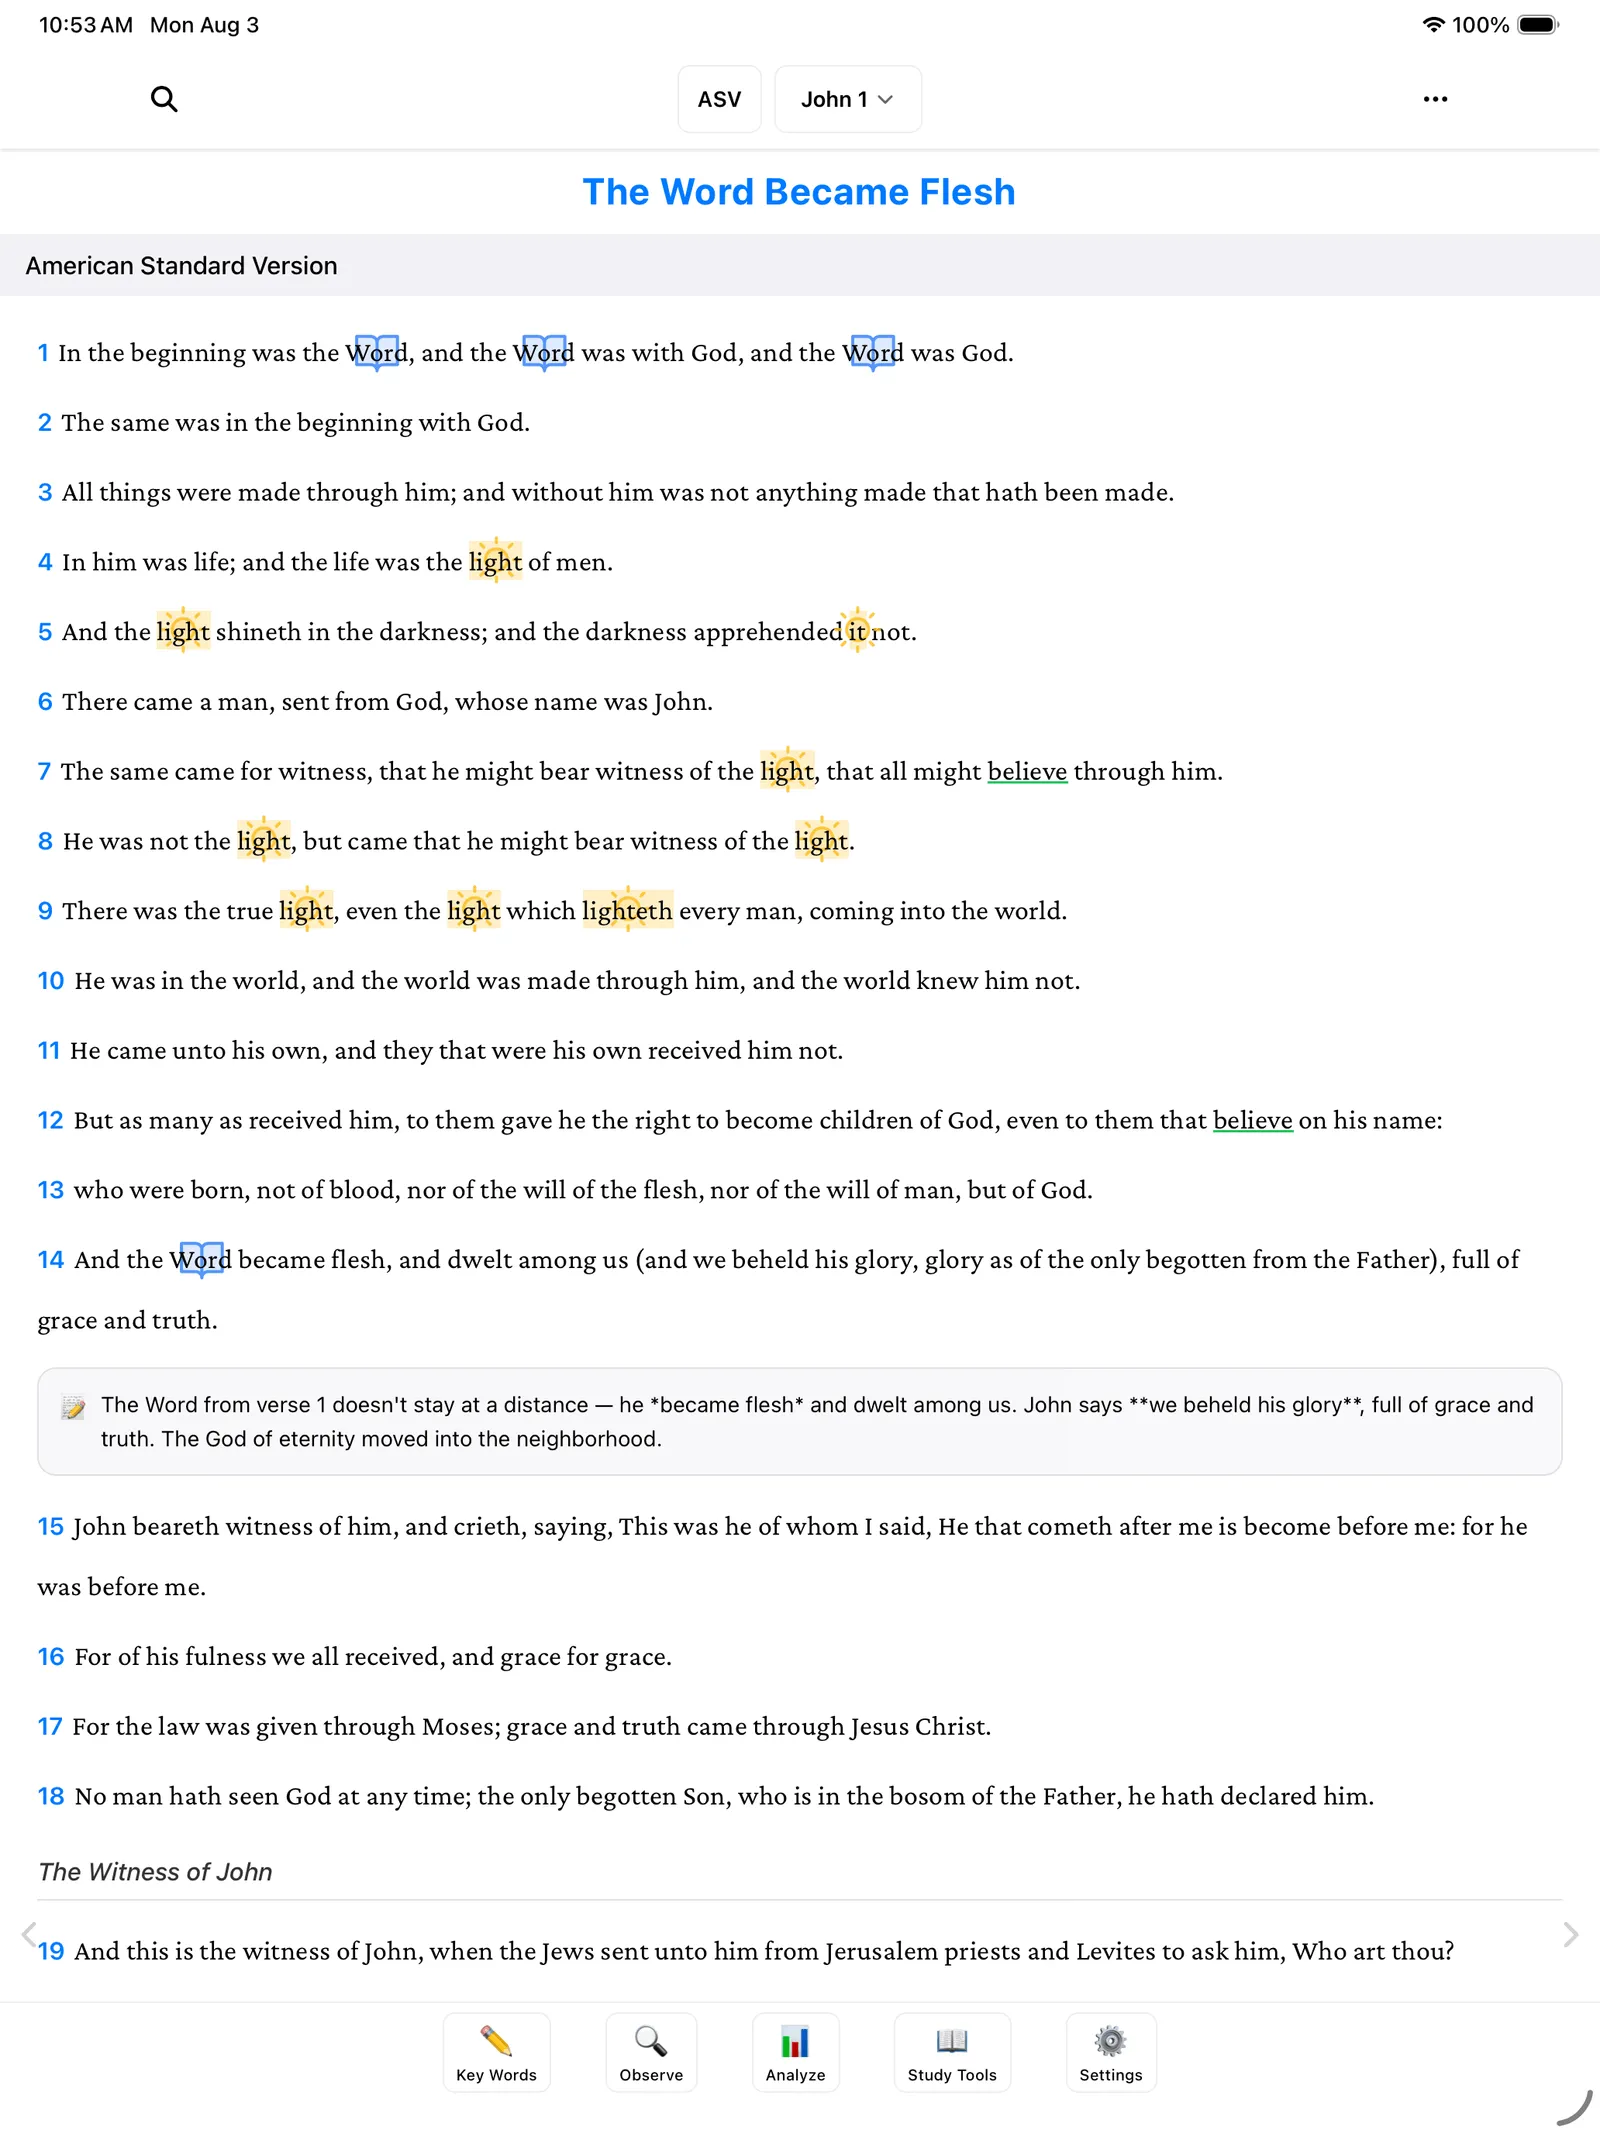
To move to a different book or chapter, tap the book and chapter name at the top of the screen. A picker opens — choose any book, then any chapter, and you’re there.
Bible translations
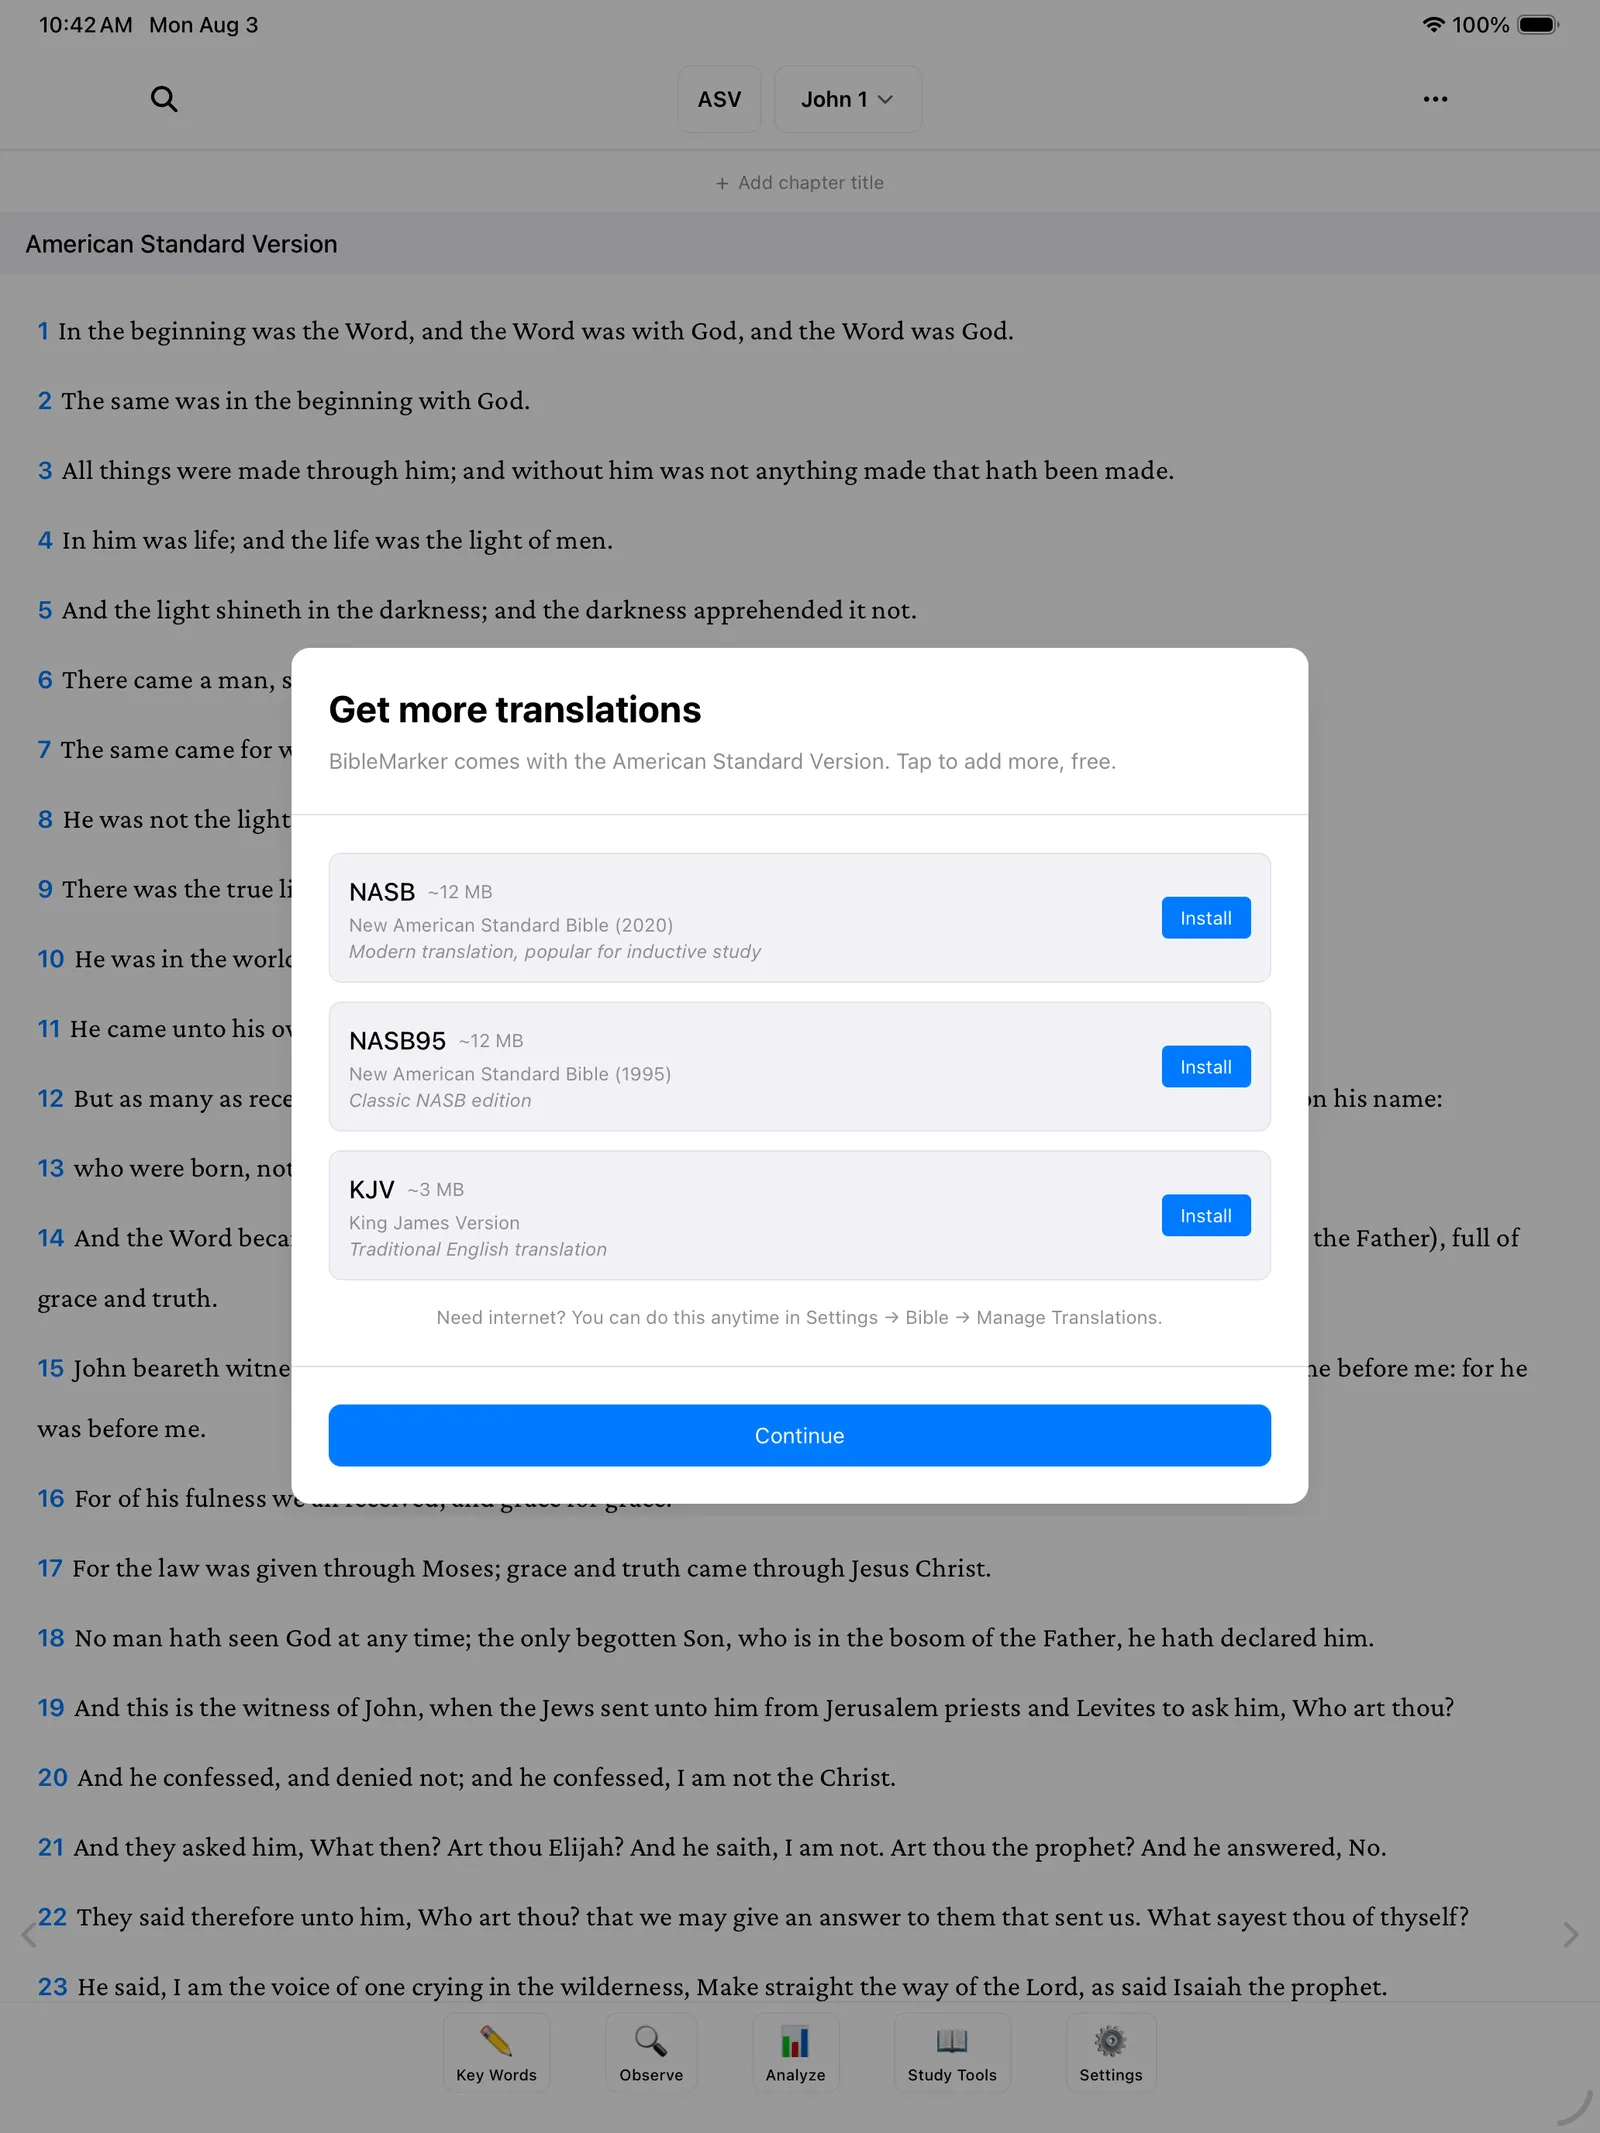
BibleMarker comes with the ASV (American Standard Version) already included. It works completely offline — no internet needed, ever.
When you first open the app, you’ll also be offered two free downloads: the NASB 2020 and the NASB 1995. If you skipped that the first time, you can get them anytime by going to Settings and tapping Bible.
You can even show up to three translations side-by-side — handy for comparing how different translators worded the same verse.
The five buttons along the bottom
Everything in BibleMarker lives in the row of five buttons along the bottom of the screen. Here’s what each one does.

-
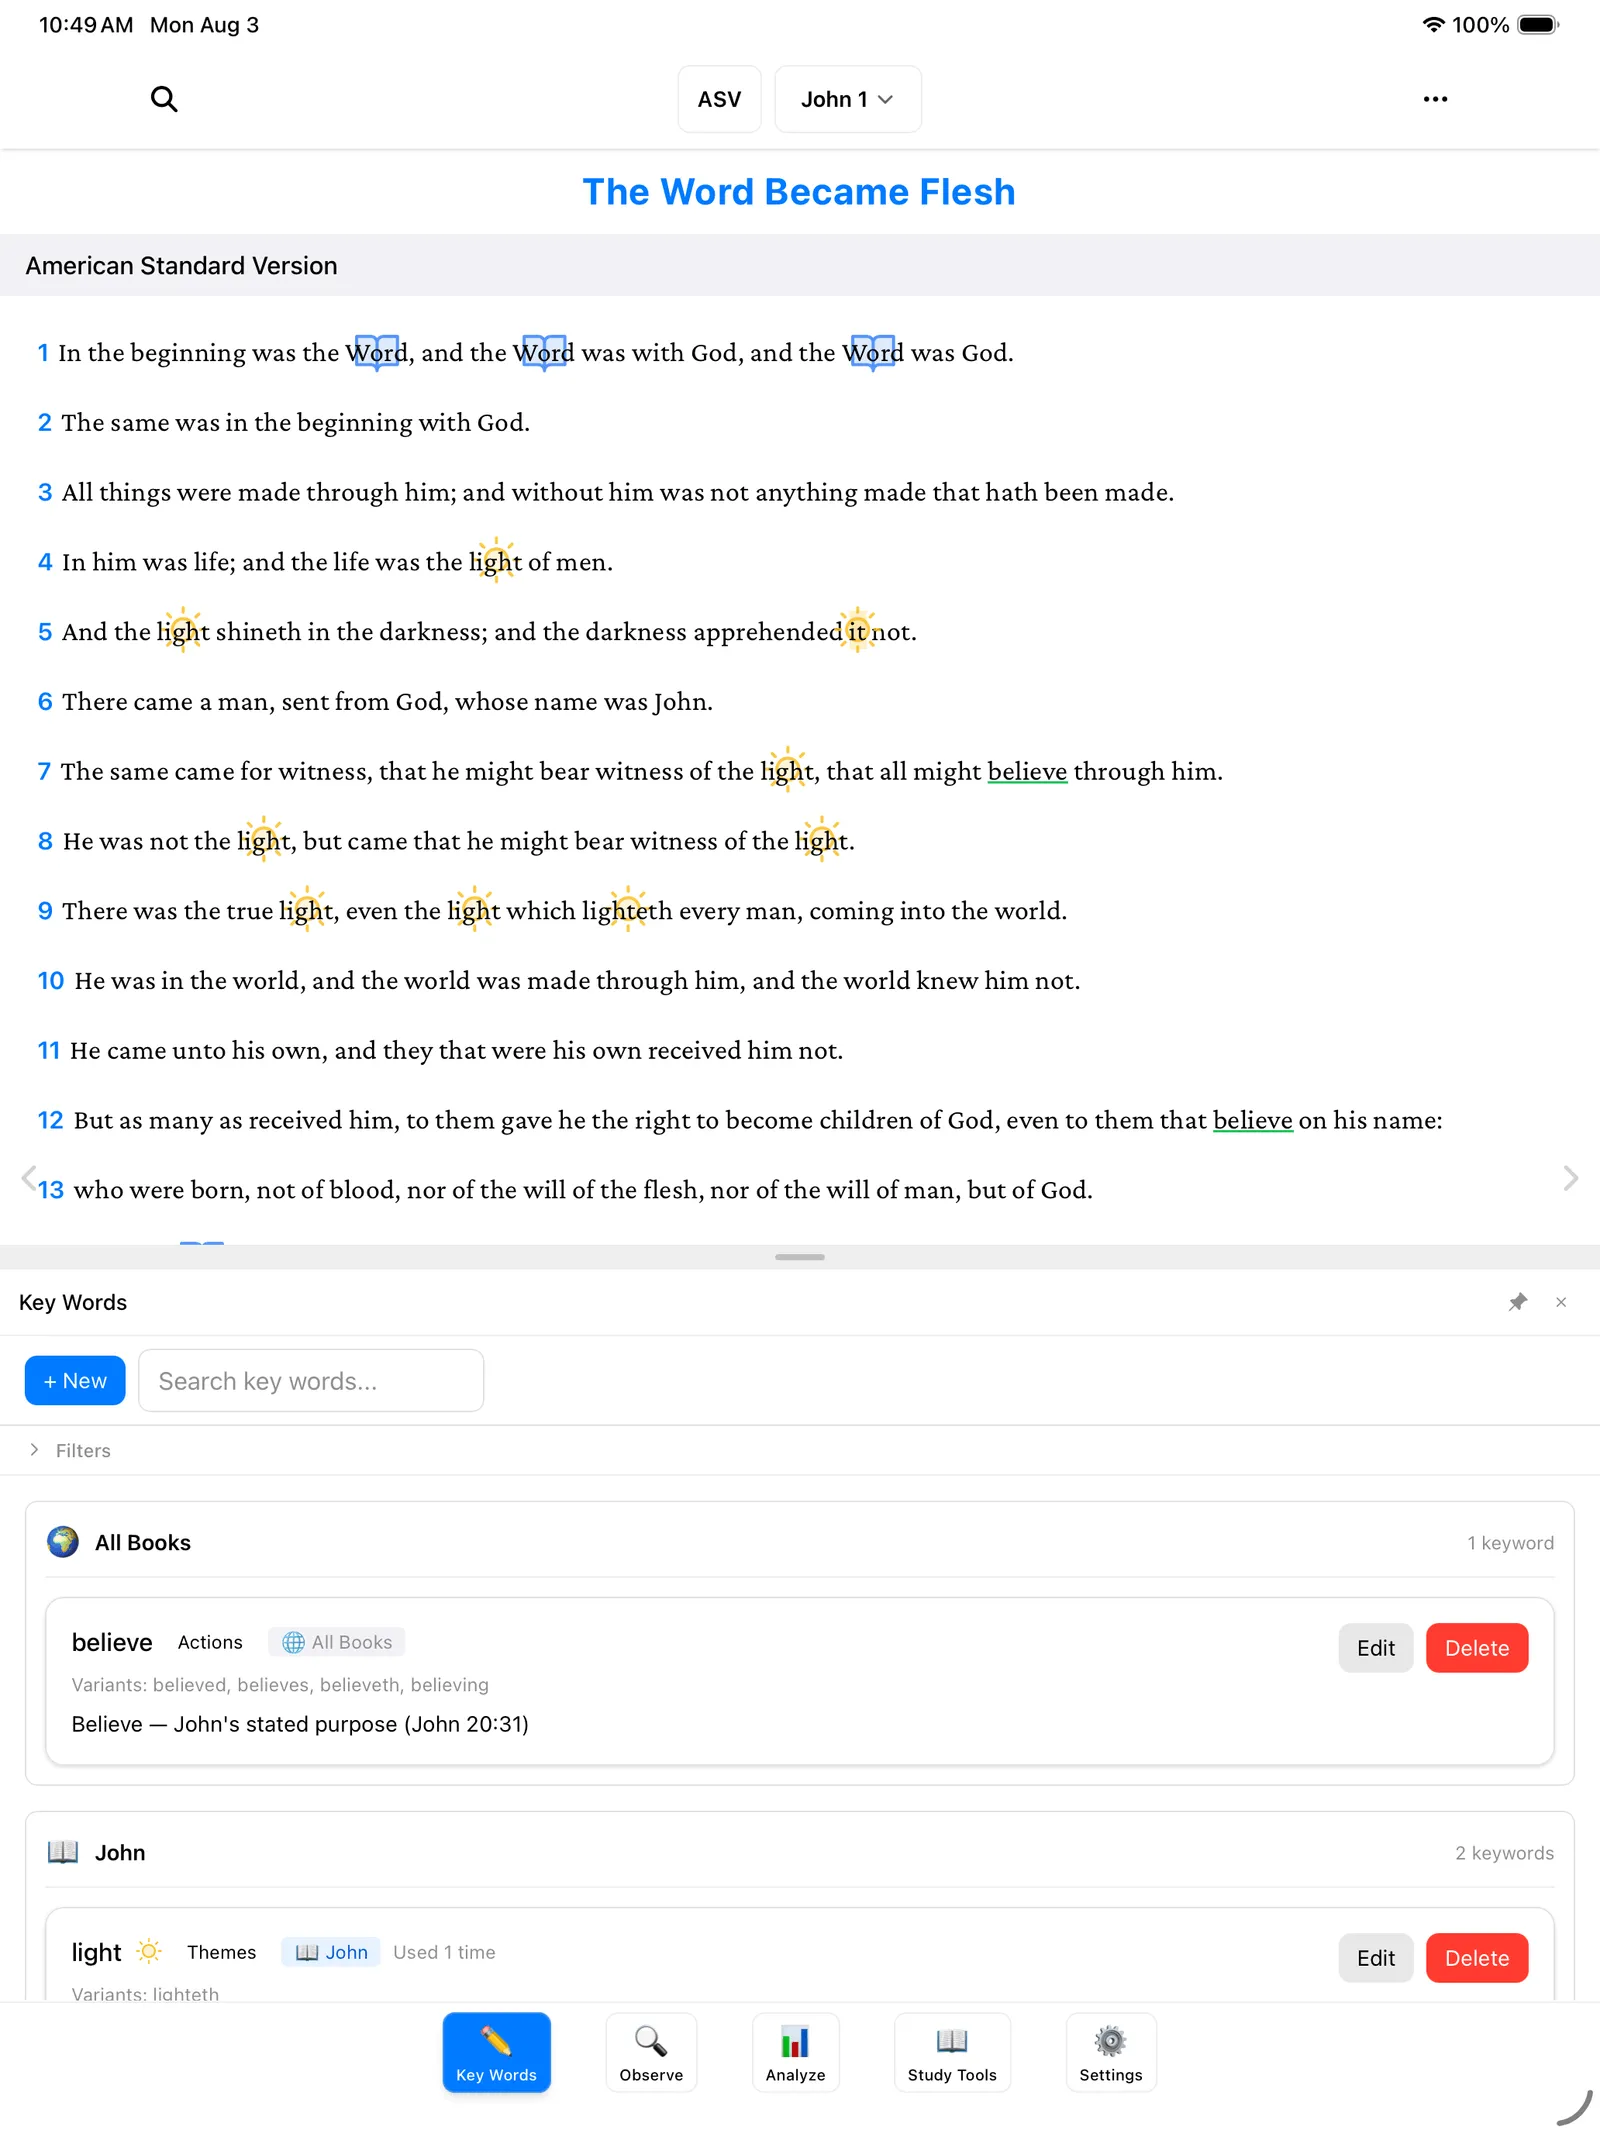
Key Words (✏️) — This is where you keep your key words: the important words you want to follow through a passage, each with its own color. It’s like your box of colored pencils, and it’s the button you’ll use most.
-
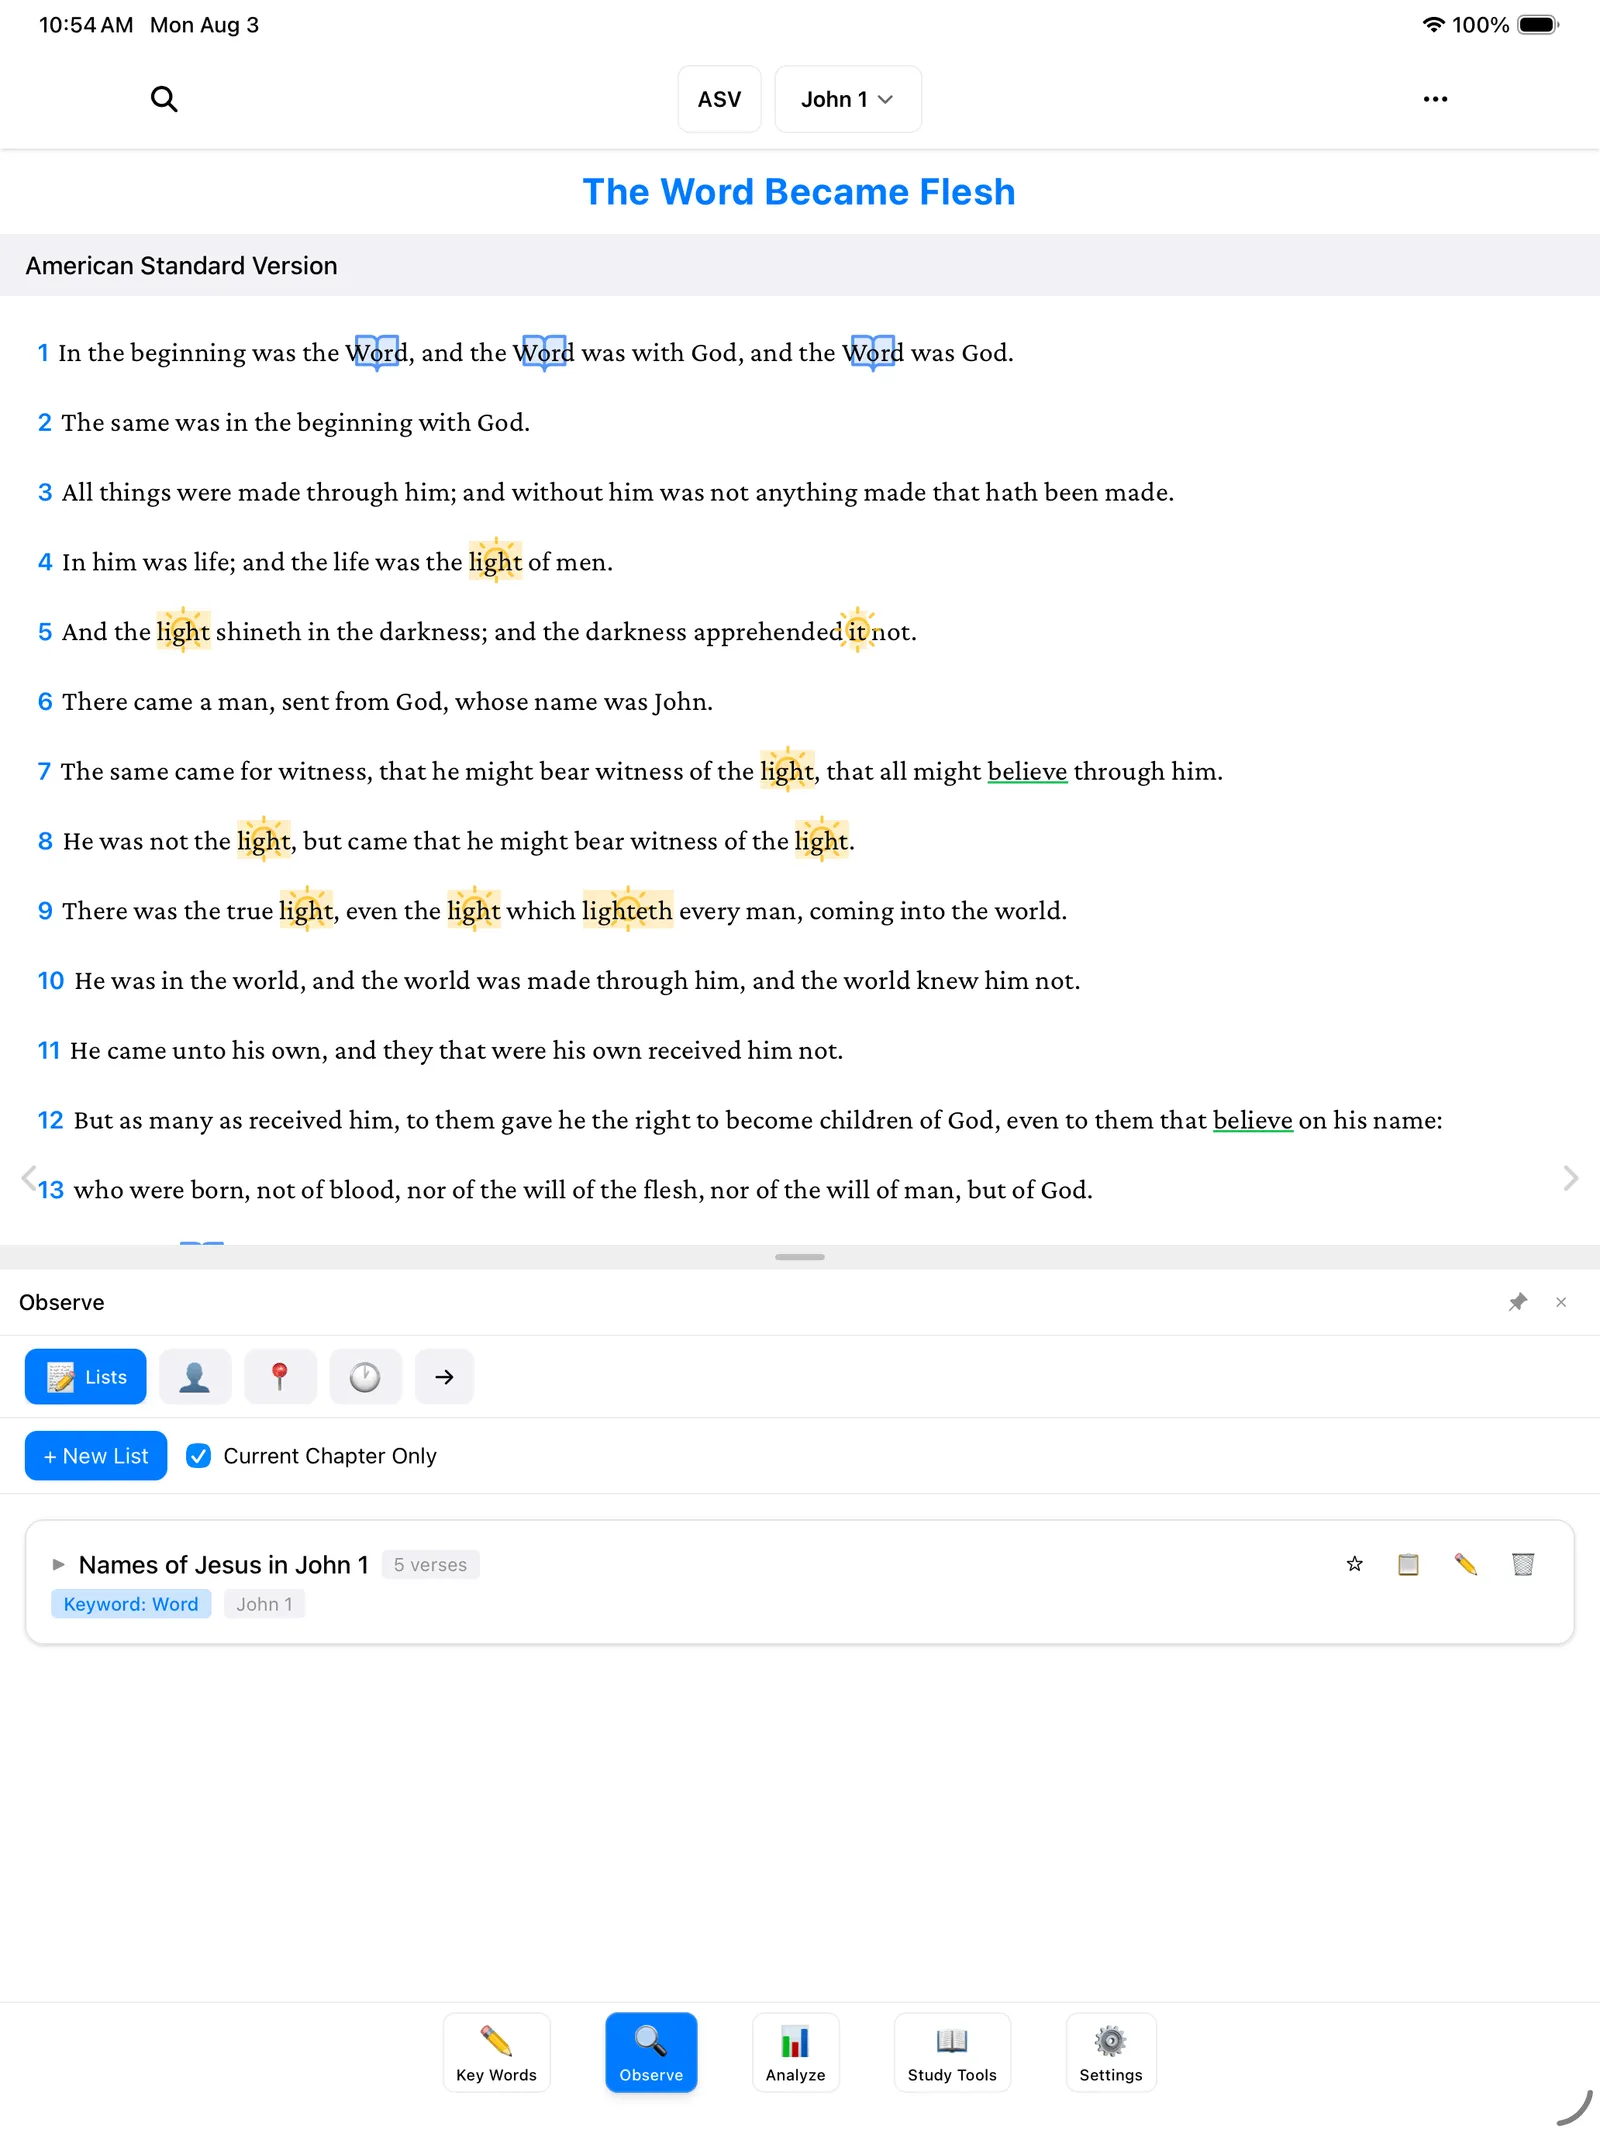
Observe (🔍) — This is your notebook. It’s where you jot down what you’re noticing about the people, the places, the timing, and how the passage flows.
-
Analyze (📊) — This brings it all together: a big-picture view of the book you’re studying, and room to write down what it means to you.
-
Study Tools (📖) — Like having study books on the shelf. Look up related verses and the original Hebrew and Greek words whenever you’re curious.
-
Settings (⚙️) — Where you make things comfortable: make the text bigger, download Bible translations, and keep a backup of your work so it’s always safe.
Tip: If you’re using BibleMarker on a computer, the number keys 1 through 4 jump straight to the first four buttons — 1 for Key Words, 2 for Observe, 3 for Analyze, and 4 for Study Tools.
There’s no wrong way to explore. Tap around, and if you ever land somewhere unexpected, just tap one of these five buttons to come back.
Where to go next
Two good next steps, in whichever order suits you:
- Create a Study — set up a named notebook for the book you’re studying.
- Marking Key Words — mark your very first word, step by step.