Settings & Backups
Settings is where you make BibleMarker comfortable for you — bigger text, a font you like, light or dark colors — and where the app quietly keeps your work safe. To open it, tap Settings (⚙️), the last of the five buttons along the bottom of the screen.
Across the top of the Settings panel you’ll see five tabs: Appearance 🎨, Bible 📖, Backup & Sync 💾, Studies 📝, and Help ❓. Let’s look at the ones you’ll use most.
Don’t worry: Nothing in Settings is permanent. Try any option, and if you don’t like it, change it right back.
Make it comfortable
The Appearance tab is all about easy reading.
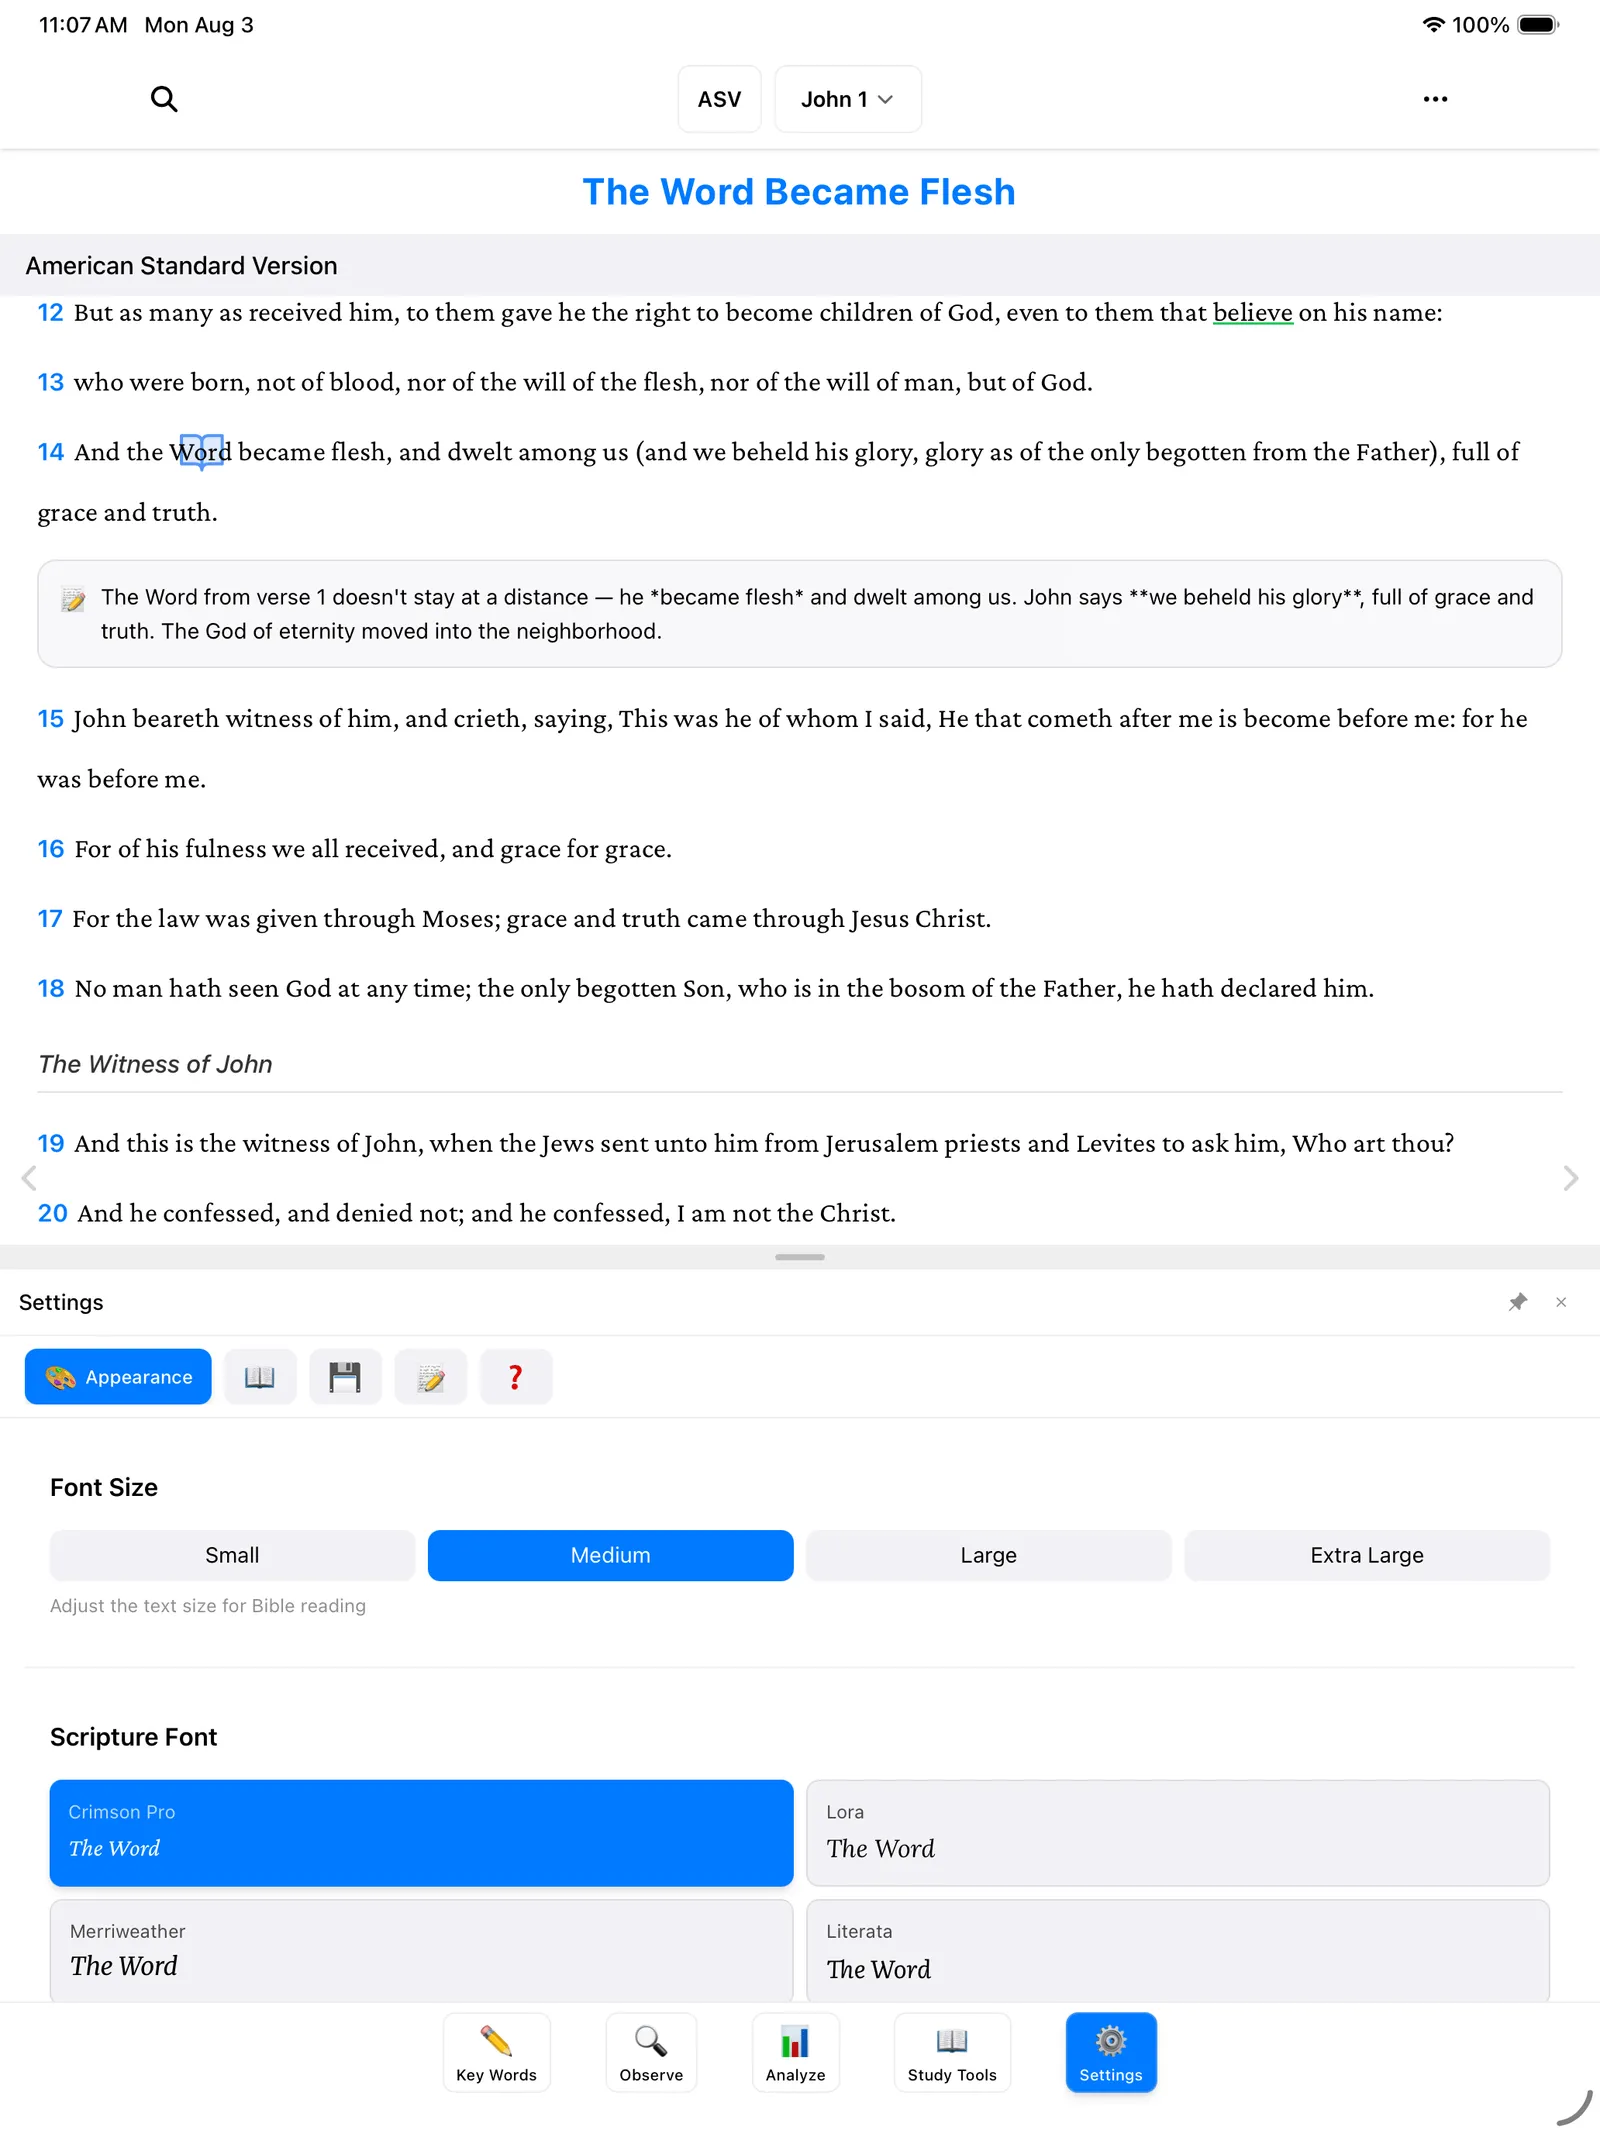
- Font Size — choose Small, Medium, Large, or Extra Large. If you find yourself squinting, pick a bigger one. That’s what it’s there for.
- Scripture Font — pick the typeface the Bible text is printed in: Crimson Pro, Lora, Merriweather, or Literata. All four are designed for comfortable long reading; choose whichever your eyes like best.
- Theme — Dark, Light, or Auto. Light is dark text on a light page, like a printed book. Dark is easier on the eyes in a dim room. Auto follows your device, switching on its own as day turns to evening.
Further down are options for the little symbols on your marked words — where they sit, how big they are, and whether they show at all.
Bible translations
The Bible tab is where your translations live — like choosing which Bibles sit on your shelf.
Near the top you can narrow the list by language, and pick your Default Translation — the one that opens when you start the app.
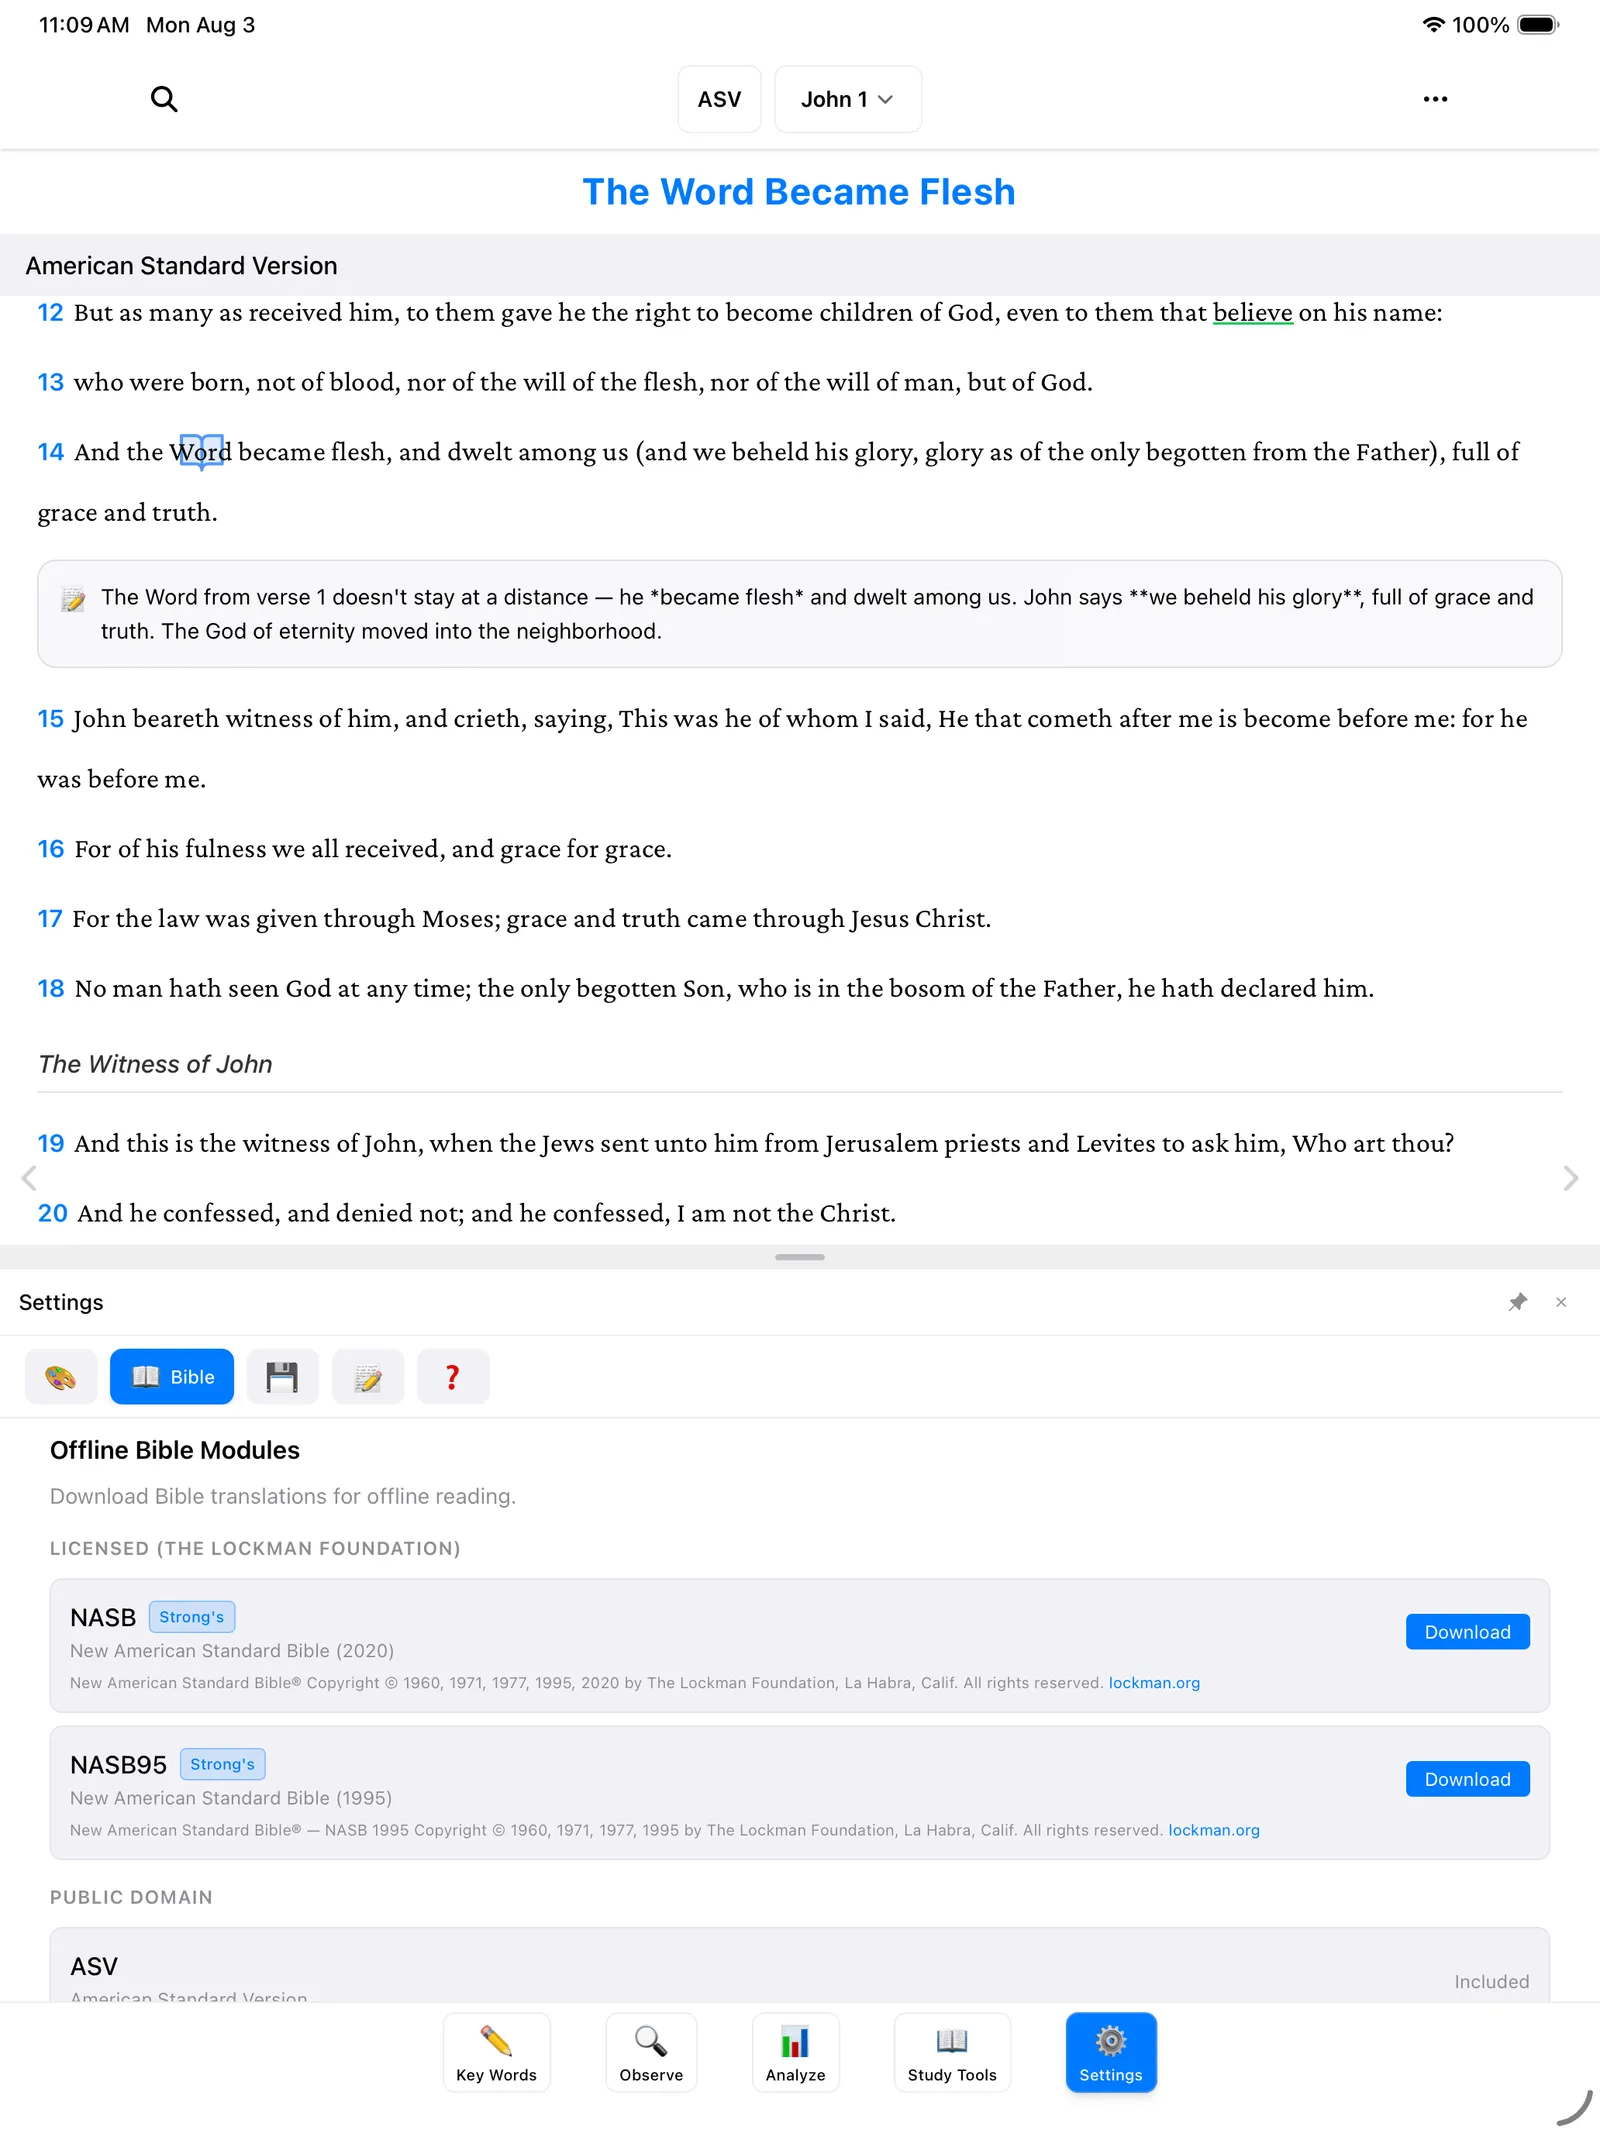
Below that is Offline Bible Modules, where you can download Bible translations for offline reading. Once a translation is downloaded, it works with no internet at all — on an airplane, at a cabin, anywhere. The list is in two sections:
- Licensed (The Lockman Foundation) — the NASB (2020) and NASB95, both free downloads with Strong’s numbers included. Tap Download next to either one and it’s yours.
- Public Domain — older translations that are free for everyone. The ASV (American Standard Version) is marked Included — it comes with the app and works offline right out of the box. Others, like the KJV (with Strong’s numbers), BBE, BSB, and Darby, each have their own Download button.
One more option for those who want it: the ESV is available too, using a free key from Crossway, the ESV’s publisher. You’ll find the ESV API section on this same Bible tab, with instructions for requesting the key on Crossway’s website.
Keep your work safe
Here’s the most reassuring part of this whole guide: BibleMarker is already backing up your work automatically. You don’t have to do anything — but it’s worth knowing where the safety net is.
Tap the Backup & Sync tab. It has three sections:
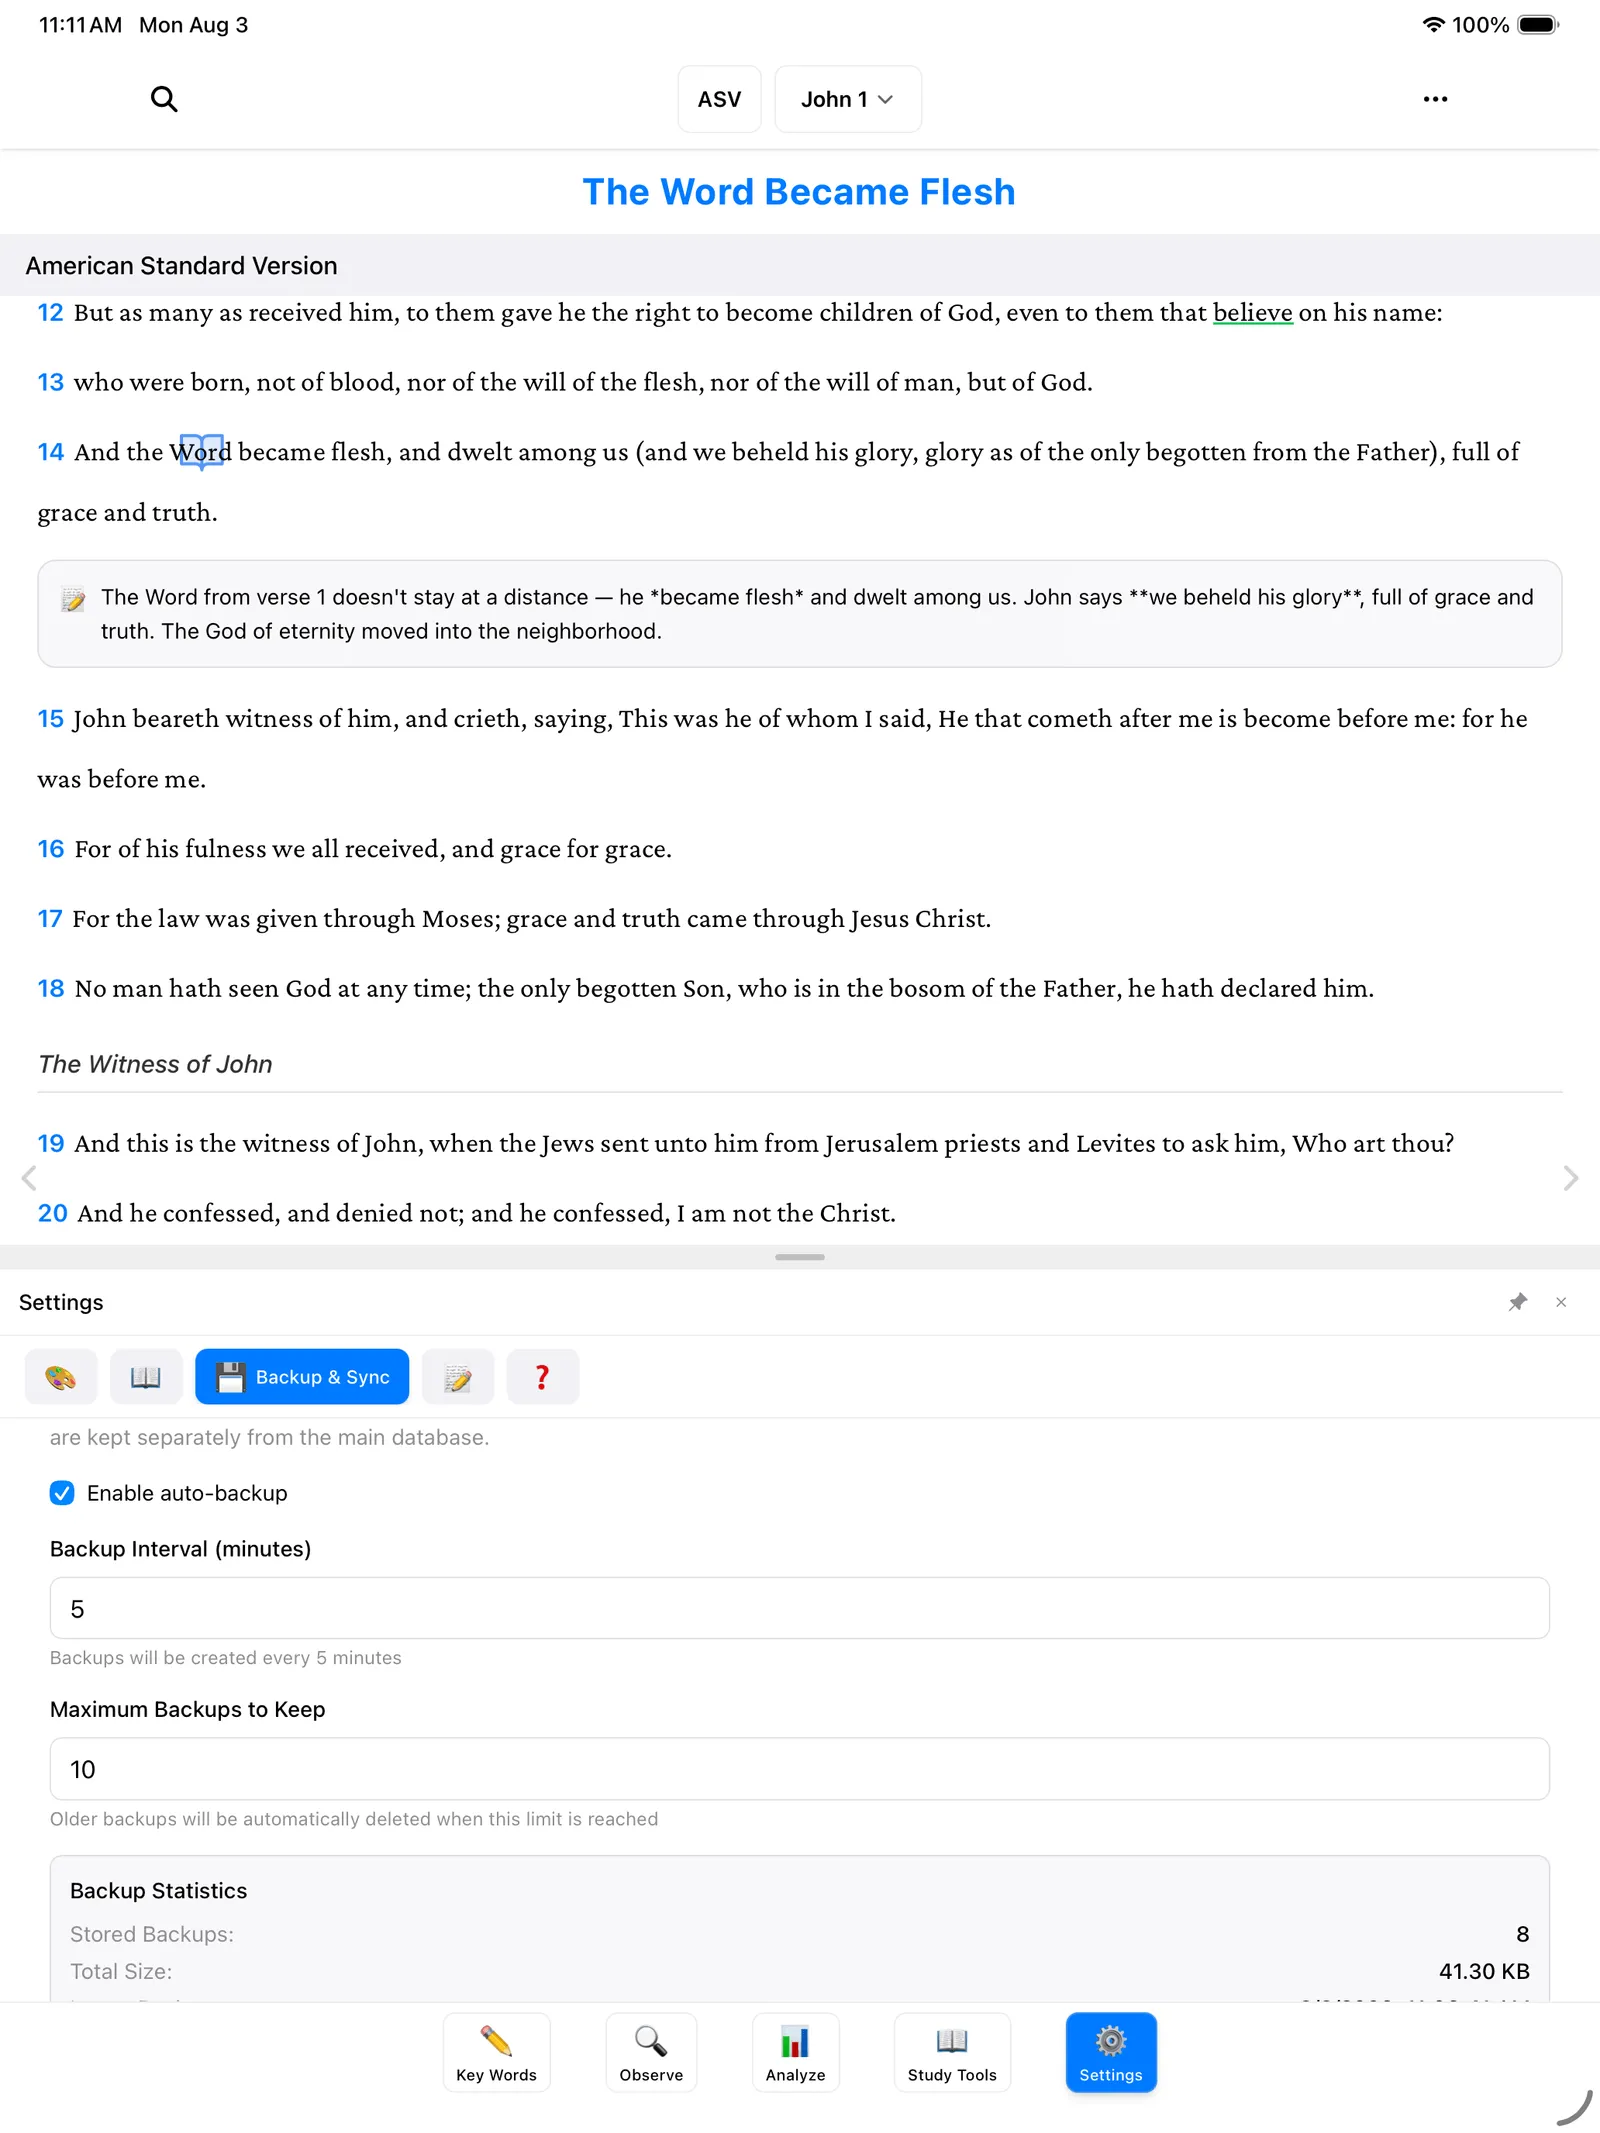
Automatic backups. The Enable auto-backup checkbox is on by default, and the app quietly saves a snapshot of your work every 5 minutes (Backup Interval), keeping the 10 most recent (Maximum Backups to Keep). You can change both numbers, but the settings out of the box serve most people well. Below that, Backup Statistics and a list show every stored backup, each with its own Restore button — like a filing cabinet of dated copies you can reach back into. There’s also a Create Backup Now button if you’d like a snapshot this very moment, perhaps right before trying something new.
Save a backup file. For extra peace of mind, tap Export Data Backup (JSON) — JSON is just the name of the file format — to save a single file containing everything — your marks, notes, and studies — anywhere you like: a folder on your computer, a thumb drive, an email to yourself. To bring it back (or move to a new device), tap Restore from Backup and choose that file.
Sync across devices. If you use BibleMarker on more than one device — say, an iPad and a computer — sync keeps them all showing the same work. It uses a simple sign-in with your email and an 8-digit code; the Accounts & Sync guide walks through it step by step.
Tip: Backups protect one device; sync protects you across devices. Using both means your study is about as safe as it can be.
Where to get help
The Help tab is worth remembering. It gathers the Getting Started guide and the list of Keyboard Shortcuts, and shows which version of the app you have — with a button to check for updates. If something ever seems off, this is a good first stop.
Where to go next
- Accounts & Sync — set up sync so your study follows you everywhere.
- Keyboard Shortcuts — a one-page list for computer users.